Capturing the raw beauty of Costa Rica’s waterfalls can feel impossible when your camera struggles with misty spray, harsh shadows, and slippery terrain. Most travelers return home with blurry, washed-out shots that fail to capture the magic they witnessed. This guide delivers practical gear choices, shooting techniques, safety protocols, and editing strategies designed specifically for Costa Rica’s tropical waterfall environments, so you can photograph like a pro and preserve stunning memories.
Table of Contents
- Before You Start: Essential Gear And Preparation
- Timing And Lighting: When And How To Shoot For Best Results
- Camera Settings And Techniques For Stunning Waterfall Shots
- Safety Tips For Waterfall Photography Adventurers
- Common Mistakes And How To Fix Them
- Post-Shoot Editing Tips To Enhance Waterfall Photos
- Expected Results: What Makes A Great Waterfall Photo In Costa Rica
- Explore Costa Rica Waterfall Tours And Photography Experiences
- FAQ
Key takeaways
| Point | Details |
|---|---|
| Gear and prep matter | Proper tripods, ND filters, polarizers, and waterproof boots ensure safe, effective shooting in rugged terrain. |
| Timing creates magic | Golden hour and overcast skies produce soft, even lighting that prevents harsh shadows and blown highlights. |
| Long exposures work | Shutter speeds from 0.5 to several seconds with low ISO create silky water effects and sharp details. |
| Safety reduces risks | Waterproof hiking boots with good grip cut slip incidents by 35% on mossy rocks near waterfalls. |
| Editing enhances naturally | Moderate brightness, contrast, and 20-30% vibrancy boosts reveal texture without fake oversaturation. |
Before you start: essential gear and preparation
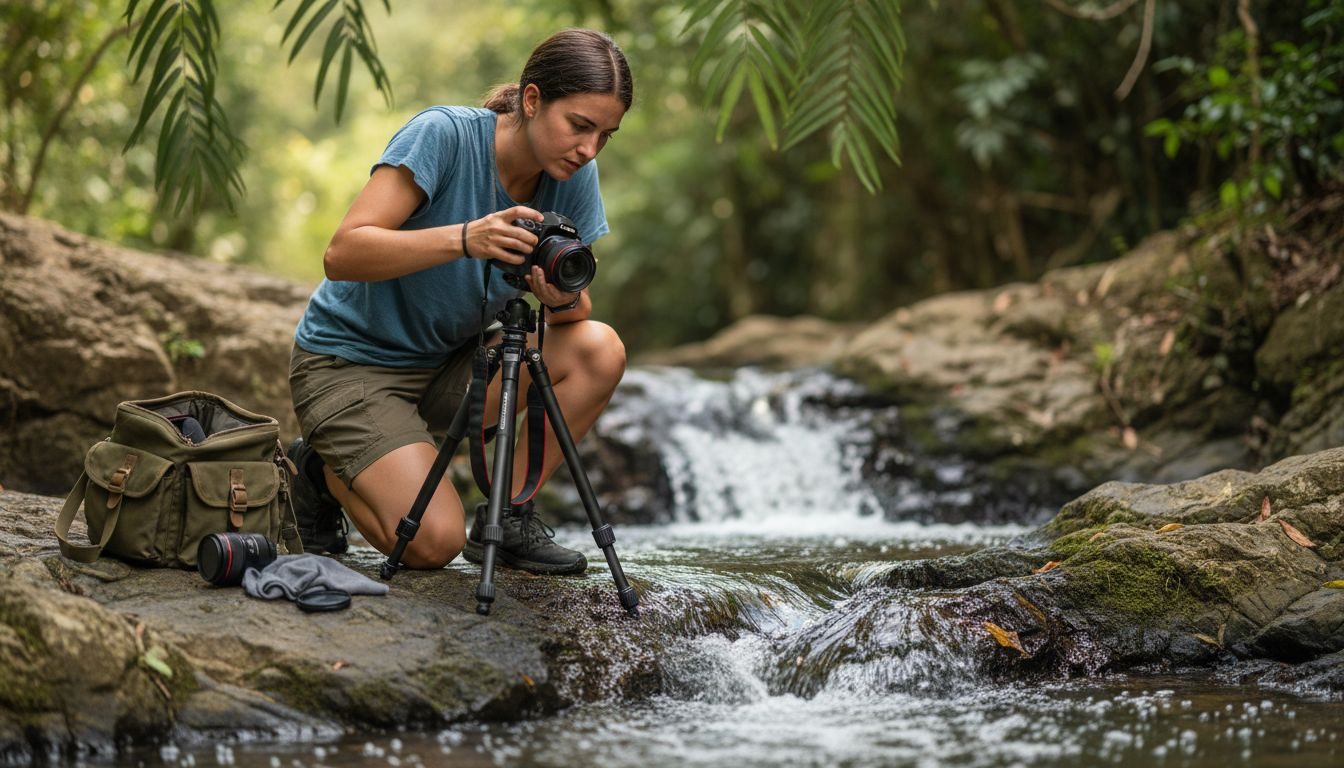
Successful waterfall photography in Costa Rica demands specialized equipment and physical readiness for tropical conditions. You will navigate wet rocks, dense jungle trails, and unpredictable weather, so preparation directly impacts both safety and photo quality.
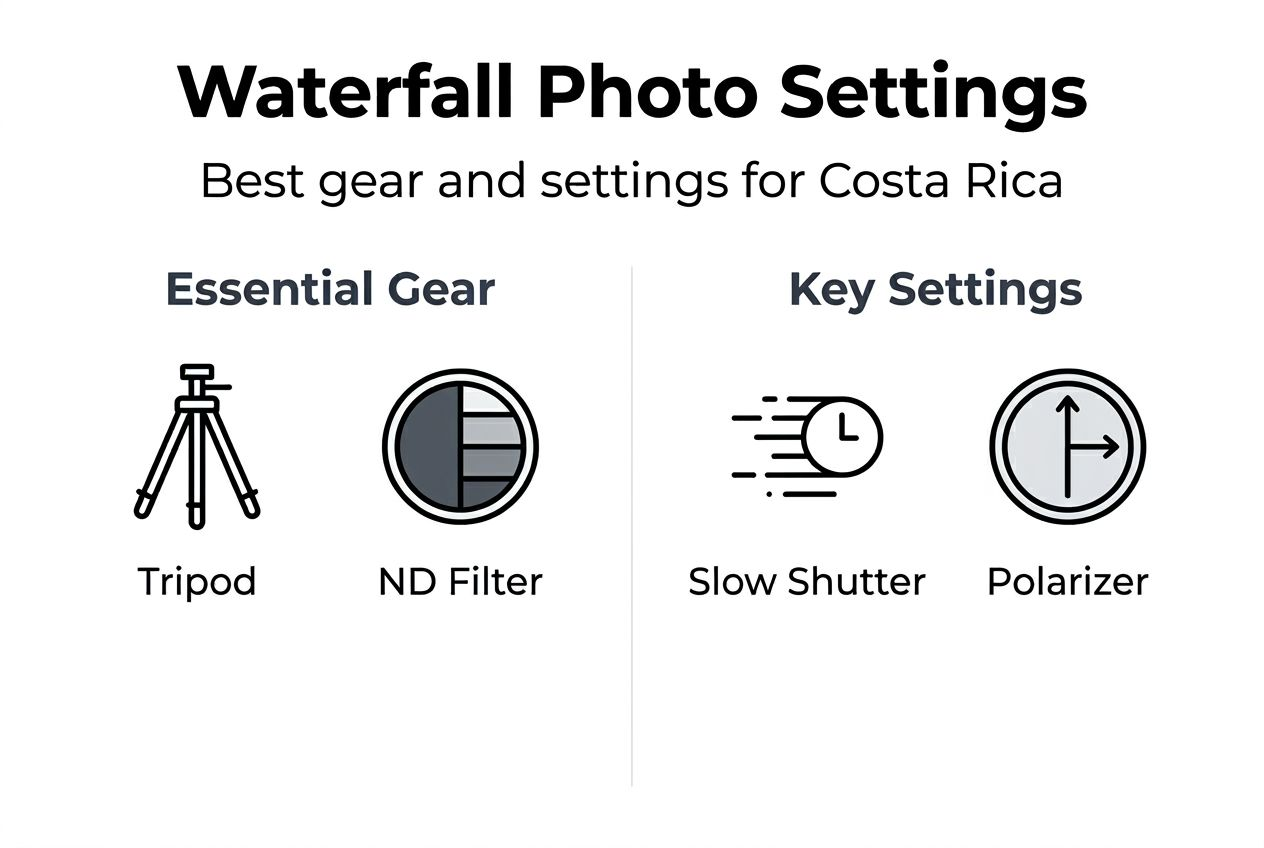
Start with a sturdy tripod designed for uneven terrain. Lightweight carbon fiber models balance portability with stability on slippery surfaces. Neutral density (ND) filters reduce light entering your lens, enabling longer exposures even in bright conditions. Polarizing filters cut glare from wet rocks and foliage, boosting color saturation naturally.
Prepare physically for rugged hikes lasting one to three hours through rainforest terrain. Many of Costa Rica’s most photogenic waterfalls require moderate to strenuous effort to reach. Waterproof hiking boots with good grip significantly reduce slips by 35% near waterfalls, protecting both you and your gear. Pack insect repellent to ward off mosquitoes and other tropical insects that thrive in humid environments.
Adventure tours grant access to hidden waterfall sites that independent travelers often miss. These guided experiences provide local expertise, safety support, and insider knowledge about timing and locations. Check out hidden waterfalls of Costa Rica for off-path gems near Jaco.
| Gear Item | Purpose | Selection Tip |
|---|---|---|
| Tripod | Stabilizes camera for long exposures | Choose carbon fiber for lightweight durability |
| ND Filter | Reduces light to enable slow shutter speeds | Start with 3-stop or 6-stop density |
| Polarizing Filter | Cuts glare and enhances color saturation | Rotate to find optimal glare reduction |
| Waterproof Boots | Prevents slips on wet rocks and trails | Ensure deep tread and ankle support |
| Camera Rain Cover | Protects gear from mist and spray | Use clear models to maintain visibility |
| Microfiber Cloths | Wipes water droplets from lens | Carry multiple in sealed bags |
Pro Tip: Create a gear checklist the night before your shoot and pack everything in waterproof bags. This prevents last-minute scrambles and ensures you don’t forget critical filters or memory cards. Review the Costa Rica activity checklist tips for comprehensive planning.
Timing and lighting: when and how to shoot for best results
Lighting transforms waterfall photography from mediocre snapshots to stunning art. Understanding when to shoot gives you creative control over mood, color, and texture in your images.
Golden hour occurs during the first hour after sunrise and the last hour before sunset. Soft, warm light during these windows adds dimension to water cascades and illuminates surrounding foliage without creating harsh shadows. The low angle of sunlight filters through mist, creating natural glow effects that enhance your compositions.
Overcast days deliver evenly diffused light that saturates colors naturally. Clouds act as a giant softbox, eliminating harsh shadows and preventing blown highlights on white water. This consistent lighting allows longer shooting windows and reduces the need for extreme exposure bracketing.
Avoid midday shooting when possible. Direct overhead sun creates deep shadows in canyon environments and causes overexposed highlights on flowing water. If you must shoot during midday, use ND filters aggressively and position yourself to leverage shade from surrounding vegetation.
- Golden hour provides warm tones and dimensional lighting perfect for creative compositions
- Overcast conditions offer consistent, shadow-free light ideal for color saturation
- Midday sun requires heavy filtration and strategic positioning to manage contrast
- Cloud cover changes rapidly in tropical climates, so monitor weather apps
- Early morning shoots often feature fewer crowds and calmer conditions
Lighting quality directly affects your shutter speed and aperture decisions later in your shooting process. Softer light allows more flexibility with exposure settings, while harsh conditions demand precise filter use and careful metering.
Pro Tip: Scout waterfall locations ahead of your main shoot to observe how light moves across the scene throughout the day. Note where shadows fall and when spray catches sunlight for magical effects. The best time for Costa Rica waterfalls guide provides seasonal insights for optimal conditions.
Camera settings and techniques for stunning waterfall shots
Mastering manual settings separates amateur snapshots from professional-quality waterfall images. Your camera becomes a precision tool when you understand how each setting interacts with Costa Rica’s unique lighting and water conditions.
- Mount your camera securely on a tripod and switch to manual mode for complete control
- Set ISO to 100 to minimize digital noise and maximize image quality
- Choose aperture between f/8 and f/16 for optimal sharpness and depth of field
- Attach your ND filter to reduce incoming light by 3 to 6 stops
- Select shutter speed from 0.5 to 4 seconds to create smooth, silky water motion
- Use a remote shutter release or 2-second timer to eliminate camera shake
- Take multiple shots at varying shutter speeds to compare effects
- Review images on your LCD screen and adjust settings as needed
Shutter speed creates the signature silky water effect in waterfall photography. Speeds between 0.5 and 2 seconds produce smooth flow while retaining some texture. Longer exposures of 3 to 5 seconds create ethereal, cloud-like water effects. Experiment to find your preferred aesthetic for each scene.
ND filters enable long exposures even in relatively bright conditions. A 3-stop ND filter cuts light by 8 times, while a 6-stop filter reduces it by 64 times. Stack filters for extreme light reduction when shooting near midday or in direct sunlight.
Polarizing filters rotate to reduce glare from wet rocks and leaves. Turn the filter while looking through your viewfinder until reflections minimize and colors pop. This single adjustment can transform flat images into vibrant, three-dimensional scenes.
| Shooting Condition | Recommended Settings | Expected Result |
|---|---|---|
| Handheld, midday sun | ISO 400, 1/250 sec, f/8 | Frozen water, harsh shadows, limited creativity |
| Tripod, golden hour | ISO 100, 1-2 sec, f/11, ND filter | Silky water, warm tones, balanced exposure |
| Tripod, overcast | ISO 100, 2-4 sec, f/13, ND + polarizer | Smooth flow, saturated colors, even lighting |
Pro Tip: Bracket your exposures by shooting at three different shutter speeds for each composition. This insurance policy ensures you capture at least one image with your ideal water flow effect, reducing trial and error in challenging field conditions. Learn more through step-by-step waterfall photography techniques.
Safety tips for waterfall photography adventurers
Spectacular photos mean nothing if you injure yourself or damage expensive gear in Costa Rica’s challenging waterfall environments. Smart safety practices protect both you and your equipment.
Waterproof hiking boots reduce slip and fall incidents by 35% near mossy rocks. Deep tread patterns grip wet surfaces, while ankle support prevents twists on uneven terrain. Never attempt waterfall photography in sandals or running shoes, regardless of how short the trail appears.
Apply insect repellent containing DEET before starting your hike. Tropical mosquitoes carry diseases and their bites distract from photography. Reapply every two hours, especially after sweating or crossing streams.
Mossy rocks near waterfalls appear deceptively stable but become ice-slick when wet. Test each foothold before transferring weight. Use trekking poles for additional stability when carrying heavy camera gear across streams or on steep descents.
Proper footwear and preparation reduce waterfall-related injuries by over one-third, allowing photographers to focus on creativity rather than survival.
Typical trails to Costa Rica waterfalls range from easy 30-minute walks to strenuous 3-hour jungle treks. Research difficulty ratings beforehand and assess honestly whether your fitness level matches the challenge. Carrying 10 to 15 pounds of camera gear significantly increases physical demands.
- Always wear waterproof hiking boots with aggressive tread patterns
- Pack and apply insect repellent before entering jungle trails
- Test footing on every rock before committing your full weight
- Bring trekking poles when carrying heavy camera equipment
- Stay on marked trails to avoid hidden hazards like unstable ground
- Monitor weather forecasts and avoid shooting during heavy rain
- Never venture beyond your skill level just to get a particular shot
Pro Tip: Inform someone of your hiking route and expected return time before heading to remote waterfalls. Cell service often fails in jungle canyons, so this simple step provides crucial safety backup. Explore the waterfall safety guide Costa Rica and waterfall tour safety Costa Rica resources for comprehensive protocols. Understanding what is waterfall hike Costa Rica prepares you mentally and physically.
Common mistakes and how to fix them
Even experienced photographers stumble when adapting to Costa Rica’s unique waterfall conditions. Recognizing these errors helps you avoid frustration and wasted shots.
Shutter speeds faster than 1/60 second freeze water into individual droplets, eliminating the smooth flow effect that makes waterfall photos captivating. This mistake usually happens when shooting in automatic mode or forgetting to attach ND filters. Fix it by switching to manual mode, adding ND filtration, and selecting speeds between 0.5 and 4 seconds.
Shooting in harsh midday sun without proper filters creates blown highlights on white water and murky shadows in surrounding vegetation. Your camera’s sensor cannot capture the extreme contrast range, forcing you to sacrifice detail in highlights or shadows. Fix it by scheduling shoots during golden hour or overcast conditions, or using both ND and polarizing filters to manage light.
Handholding your camera during long exposures guarantees blurry images from even tiny hand movements. Camera shake ruins sharpness across your entire frame, making photos unusable regardless of perfect composition. Fix it by always using a sturdy tripod and remote shutter release or timer function.
- Using shutter speeds too fast (over 1/60 sec) freezes water and loses silky motion
- Shooting in direct midday sun without filters causes blown highlights and harsh shadows
- Handholding during long exposures introduces camera shake and blur
- Wearing improper footwear leads to slips that rush your shots and compromise stability
- Forgetting essential filters forces exposure compromises that degrade image quality
- Failing to test settings results in discovering mistakes only after leaving the location
- Rushing compositions to beat changing light produces sloppy framing and missed opportunities
Forget one crucial piece of gear and you will compromise your entire shoot. Many photographers discover missing ND filters or dead batteries only after hiking an hour to reach their waterfall. Create a pre-shoot checklist and verify every item before leaving your accommodation.
Take multiple shots at different settings rather than assuming your first attempt nailed exposure and composition. Memory cards cost pennies compared to returning to remote locations, so shoot liberally and edit ruthlessly later.
Post-shoot editing tips to enhance waterfall photos
Raw capture provides only the starting point for compelling waterfall images. Thoughtful post-processing reveals hidden details and amplifies natural beauty without creating artificial looks.
- Import your raw files into editing software like Lightroom or Capture One
- Increase overall brightness by 10 to 20% to reveal shadow detail in foliage
- Boost contrast by 15 to 25% to separate water from darker backgrounds
- Raise clarity by 10 to 15 points to emphasize texture in flowing water
- Increase sharpness moderately to define edges without introducing noise
- Enhance vibrance or saturation by 20 to 30% to make water and greenery pop
- Adjust white balance if colors appear too warm or cool for your vision
- Apply selective adjustments to brighten specific areas or darken distracting elements
- Export final images at high resolution for printing or web sharing
- Save original raw files as backup for future re-editing
Brightness and contrast adjustments form the foundation of effective waterfall editing. Slight increases reveal texture in white water while preventing flat, lifeless images. Watch your histogram to ensure you don’t clip highlights or crush shadows.
Clarity and sharpness enhancements emphasize fine details in water droplets and surrounding rocks. Apply these adjustments conservatively, as excessive clarity creates unnatural halos and grittiness. Zoom to 100% magnification to check for artifacts.
Color vibrancy boosts make tropical vegetation and aqua-tinted water more visually striking. Increasing saturation by 20 to 30% enhances natural tones without crossing into cartoonish territory. If individual colors appear oversaturated, use selective HSL adjustments to fine-tune specific hues.
Avoid heavy-handed editing that screams artificial manipulation. Viewers should marvel at Costa Rica’s natural beauty, not notice your Photoshop skills. When in doubt, scale back adjustments until images look believable yet enhanced.
Many editing programs offer nature photography presets as starting points. These provide baseline adjustments you can customize for individual images. Experiment with presets to develop your signature editing style over time.
Expected results: what makes a great waterfall photo in Costa Rica
Understanding quality benchmarks helps you evaluate your progress and set realistic goals for your waterfall photography journey.
Smooth, silky water flow signals proper long exposure technique and appropriate shutter speed selection. The water should appear soft and ethereal while retaining enough texture to show movement direction. Completely blown-out white water or frozen droplets indicate technical errors.
Balanced lighting across your frame demonstrates mastery of timing and filtration. Great waterfall photos show detail in both bright cascading water and darker surrounding rocks or vegetation. No areas should appear pure white or solid black unless used intentionally for creative effect.
Sharp images free of noise prove you used proper tripod technique and optimal ISO settings. Zoom to 100% and examine fine details in foliage or rock textures. Any blur or graininess suggests camera shake or excessive ISO.
- Water appears smooth and silky from shutter speeds between 0.5 and 4 seconds
- Lighting remains balanced with visible detail in highlights and shadows
- Images show sharpness throughout the frame from tripod use and low ISO
- Colors look vibrant yet natural after moderate post-processing enhancement
- Compositions draw viewers into the scene through strong focal points
- Photos evoke emotional responses and inspire others to visit Costa Rica
- Images perform well in photo contests or generate social media engagement
Post-processed colors that look vibrant yet believable indicate skillful editing restraint. Greens should appear lush and tropical, blues should feel refreshing, and water should glow without appearing radioactive. If friends ask whether you used filters, you have probably oversaturated.
Images that engage viewers demonstrate successful combination of technical skill and artistic vision. Great waterfall photos make people stop scrolling, ask about locations, and plan their own Costa Rica adventures. Social shares and contest placements validate your growth as a photographer.
Focus on personal improvement rather than comparison with professional photographers who shoot full-time with unlimited budgets. Each trip to Costa Rica waterfalls builds your skills and expands your portfolio. Celebrate progress and learn from every shoot.
Explore Costa Rica waterfall tours and photography experiences
Applying these photography tips becomes exponentially easier with expert guidance and curated access to Costa Rica’s most photogenic waterfalls. Professional tour operators handle logistics, safety, and location scouting, freeing you to focus entirely on capturing stunning images.
Guided waterfall tours designed for photographers provide insider knowledge about optimal shooting times, hidden vantage points, and seasonal conditions. Experienced guides ensure your safety on challenging terrain while teaching local ecology and cultural context that enriches your images. These tours grant access to remote locations requiring specialized permits or navigation skills beyond typical travelers.
Explore 7 types of waterfall tours to find experiences matching your skill level and photographic goals. Whether you prefer sunrise shoots at hidden cascades or multi-day adventures combining photography with canyoning, curated tours eliminate guesswork and maximize your shooting opportunities. Review the waterfall tour planning guide 2026 to cut risks by 70% while ensuring safe, productive photography sessions. Pack efficiently using waterfall tour essentials Costa Rica recommendations.
Professional tours transform waterfall photography from stressful navigation challenges into pure creative experiences where you can apply everything you have learned about gear, timing, and technique.
FAQ
How do I protect my camera gear from water damage near waterfalls?
Use waterproof camera bags and rain covers specifically designed for photography equipment. Carry multiple microfiber cloths in sealed plastic bags to wipe lenses between shots. Avoid changing lenses near water spray, as mist infiltrates camera bodies and damages sensors. Weather-sealed camera bodies and lenses provide extra insurance against moisture.
What is the best time of day to photograph waterfalls in Costa Rica?
Golden hour during early morning or late afternoon offers soft, warm light that creates dimensional images without harsh shadows. Overcast days provide evenly diffused lighting ideal for color saturation and balanced exposures. Avoid midday sun unless using heavy ND filtration and strategic positioning. Check best time for Costa Rica waterfalls for seasonal recommendations.
How can I safely hike to remote waterfalls in Costa Rica for photography?
Wear waterproof hiking boots with aggressive tread patterns and ankle support to prevent slips on wet rocks. Apply insect repellent before starting and reapply every two hours. Research trail difficulty and duration beforehand to ensure your fitness level matches the challenge. Consider guided tours for unknown or technically difficult routes, as local expertise dramatically improves safety. Review the waterfall safety guide Costa Rica before attempting remote locations.
What post-processing adjustments improve waterfall photos without overdoing it?
Increase brightness by 10 to 20% and contrast by 15 to 25% to reveal texture in water and surrounding elements. Boost color vibrancy by 20 to 30% to enhance tropical greens and aqua tones naturally. Raise clarity and sharpness moderately to emphasize detail without introducing noise or halos. Avoid extreme saturation or heavy filters that make images appear artificial rather than enhanced.